It’s more fun to rise up together
Welcome to RonaldsRise!
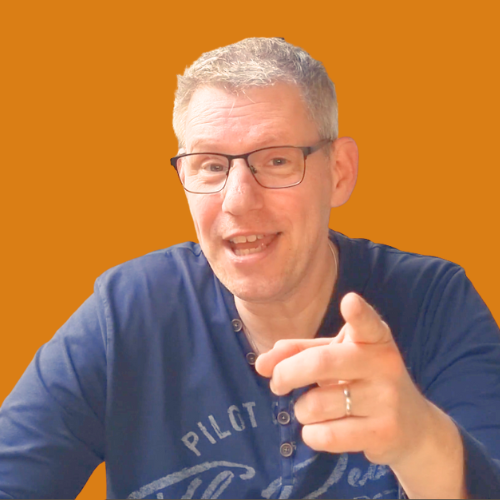
Hey, I’m Ronald 👋
A few years ago, I lost my good health, my marriage, and my job. Not exactly the highlight reel you’d put on social media.
But instead of staying down, I decided to rebuild, one step at a time. Living with ADHD and a chronic illness taught me that real growth isn’t about pushing harder. It’s about learning when to push and when to rest.
Now I’m a Dutch creator on a mission to level up every area of my life, like health, focus, creativity, and everything in between. I share weekly updates, real talk about personal growth, and everything I learn along the way.
No filters, no guru stuff. Just an honest journey.
Welcome to the Rise.